This tutorial combines what I think is the best little baby bloomers pattern, the Bettsy Kingston Baby Ruffle Pants, with an awesome double sided, flippy skirt. By creating a double sided skirt you prevent the ugly fabric underside from showing while you little one moves around.
***Edit: Just a short note to say that I've just released my bonnet pattern via my Etsy shop for a super cheap $6. A fully reversible, retro inspired bonnet really completes this super sweet summer look. Get yours here. (OK, ad over)


To begin, you need to collect your supplies:
- Bettsy Kingston Baby Ruffle Pants pattern
- fabric and elastic for bloomers as per pattern specifications, I didn't add the ruffles, but you can if you want.
- fabric for skirt outer, a strip approximately 9 inches by 30 inches should do
- fabric for skirt inner or lining, approximately the same size as the outer
- any embellishments you would like to add, here I've used ric rac
Step 1:
Cut out your bloomers and construct them as per the instructions up until you have finished the leg elastic and sewn the sides together. I find it a little easier to attach the leg elastic by following this tutorial on the Bettsy Kingston blog.
Step 2:
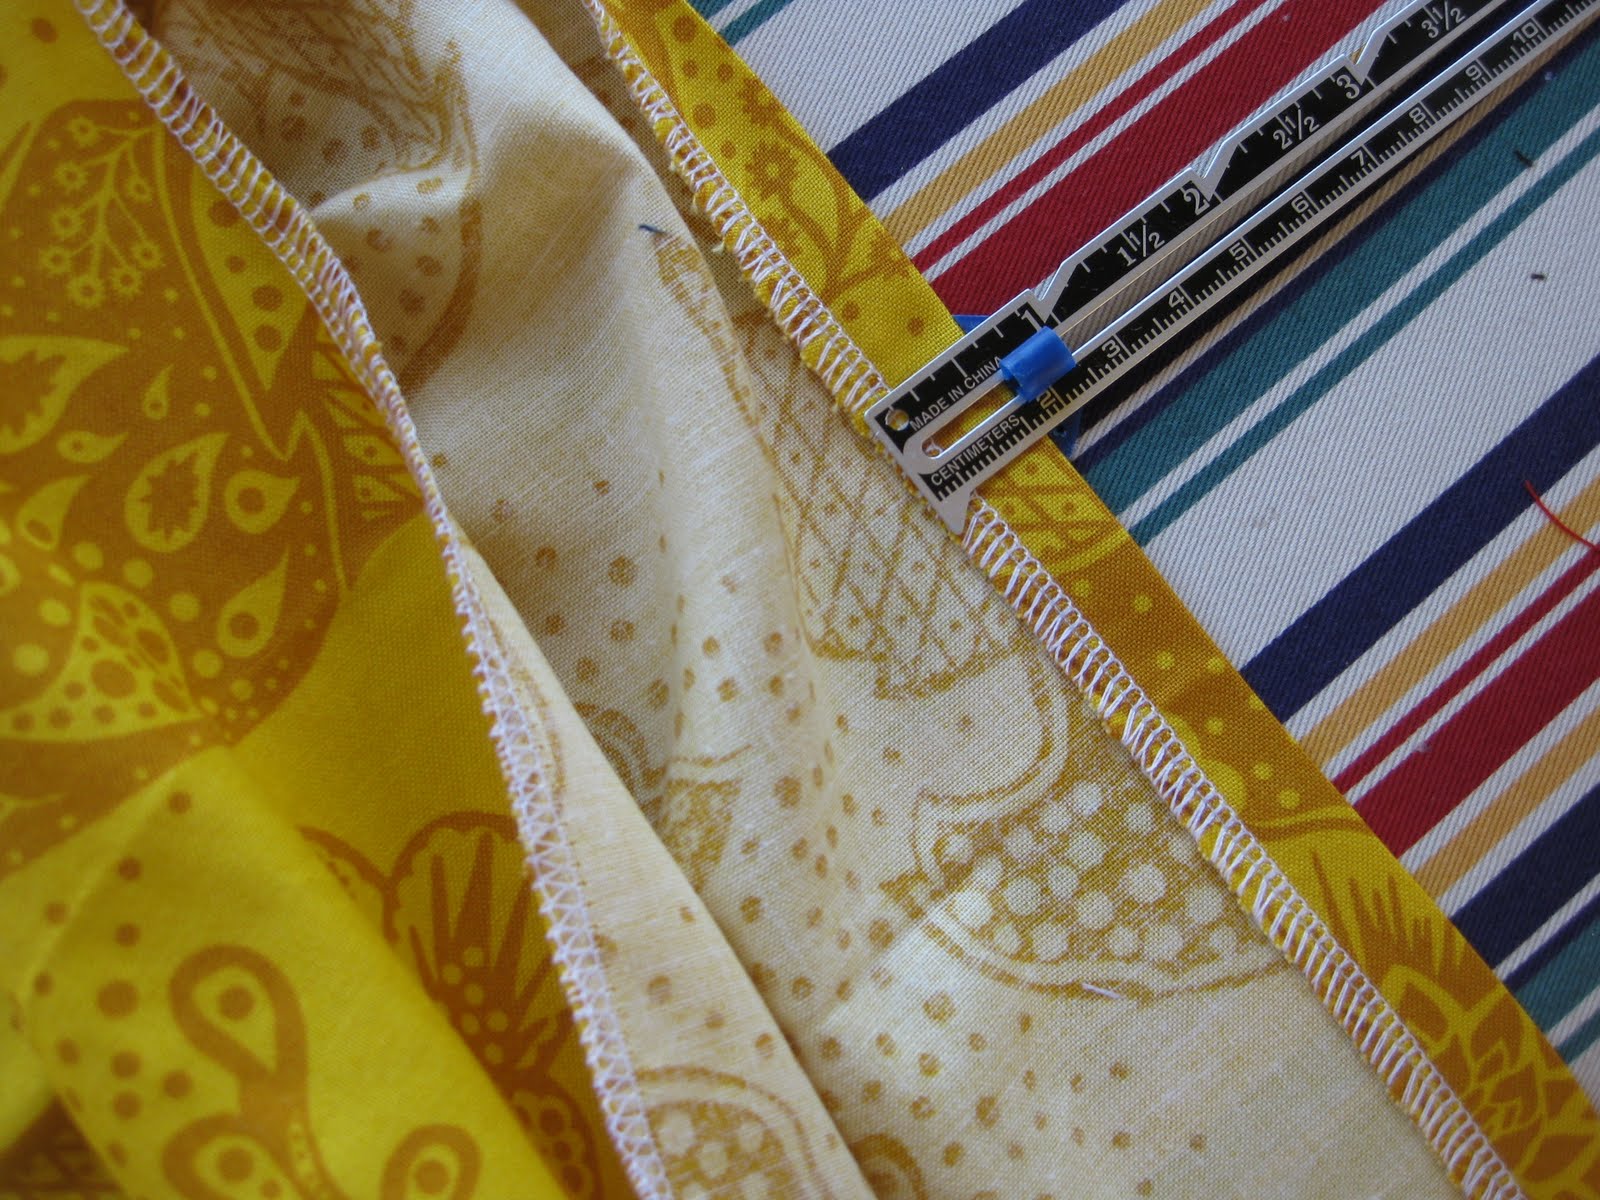
Measure your bloomers to determine the size of your skirt. I'm making the 12-24 month size. As you can see, the waist on mine is about 14 inches wide or 28 inches around the whole waist. The length, top to bottom, is 9 inches.


Step 3:
Cut your skirt pieces. You will need one inner skirt or lining and one outer skirt, both are cut the same size.
The dimensions of these two pieces will be the width of you bloomers + 1 inch seam allowance (so mine will be 29 inches) by the height of the bloomers (from top to bottom, mine is 9 inches). You do not need to add any seam allowance to the height.

Step 4:
Begin sewing your skirt by aligning the bottom edge of both skirt pieces right side together and sew with a 1/2 inch seam allowance. Iron the skirt open with the seam up towards the top of the skirt outer.

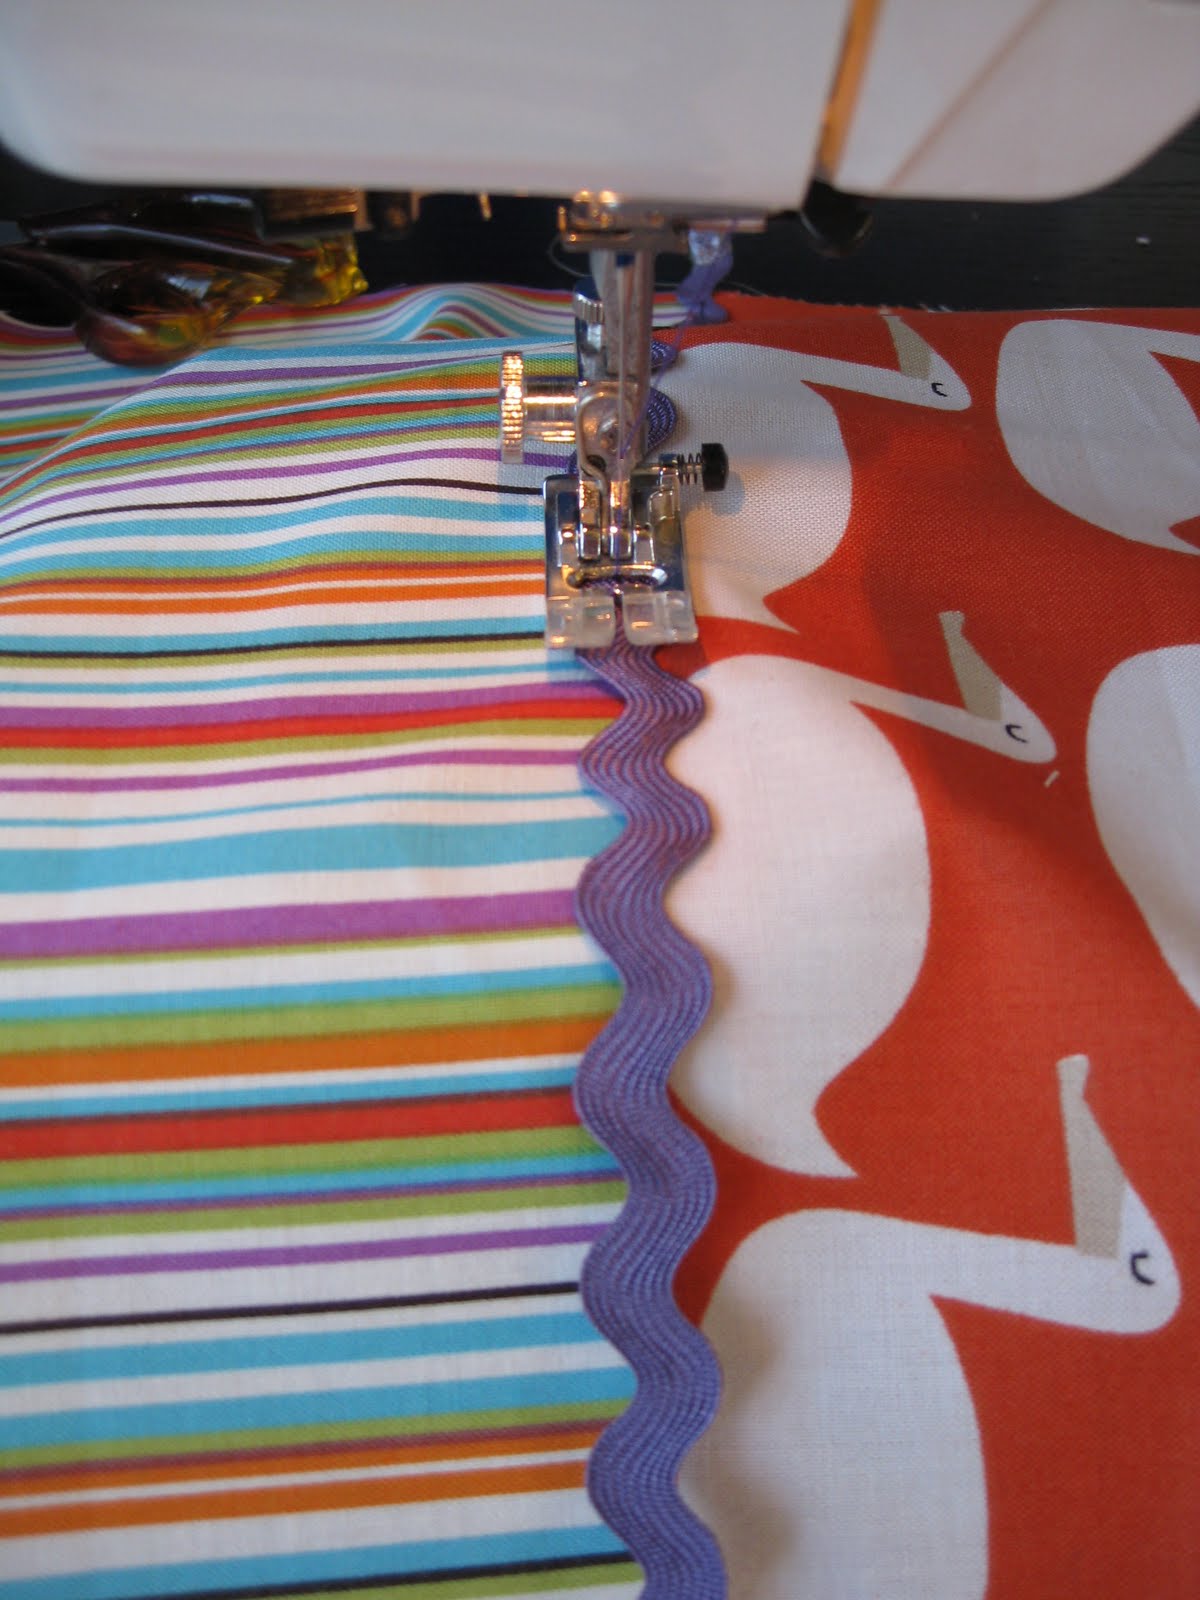
Now is the time to embellish. Naturally this step is optional, but I have so many little bits of trim lying around, I find it's good to use them when I can. Here I am attaching some purple ric rac to the seam by straight stitching it with my machine. By the end of this stage your skirt just looks like one large piece of fabric with ric rac through the middle, like the third photo.


Step 5:
With right sides facing, align the skirt sides, matcing the centre seam or ric rac and sew with a 1/2 inch seam allowance.

Step 6:
Time to turn your skirt right side around. The skirt outside should be on the outside and the inner on the inside, I like to leave a small amount of the inner fabric showing on the outside, like shown in this photo. Iron the skirt so that about 1cm of the inner or lining is visible on the outside.


Once you have ironed your skirt so that 1cm of the lining is visible on the outside you will notice that the top of the skirt outer and inner do not match. This is OK, this is the way it's supposed to be.

Step 7:
Serge the top of the skirt. I probably should have done this earlier but forgot! You only need to serge the outer, not the inner/lining.
Iron the casing on your bloomers as per the instructions in your Bettsy Kingston pattern. Repeat the same process with the skirt outer.

Step 8:
This step is a little fiddly, but it pays to take your time and pin, pin, pin. Align the top of both the skirt and the bloomers and pin around the top with the casings folded down one on top of the other.
As you can see in these picture this makes a little sandwich along the top of the garment. The inner skirt lining sits just between the outer skirt casing and the bloomers casing. To reduce bulk, the lining or inner skirt is not folded into the casing, it just sits between the two casings.

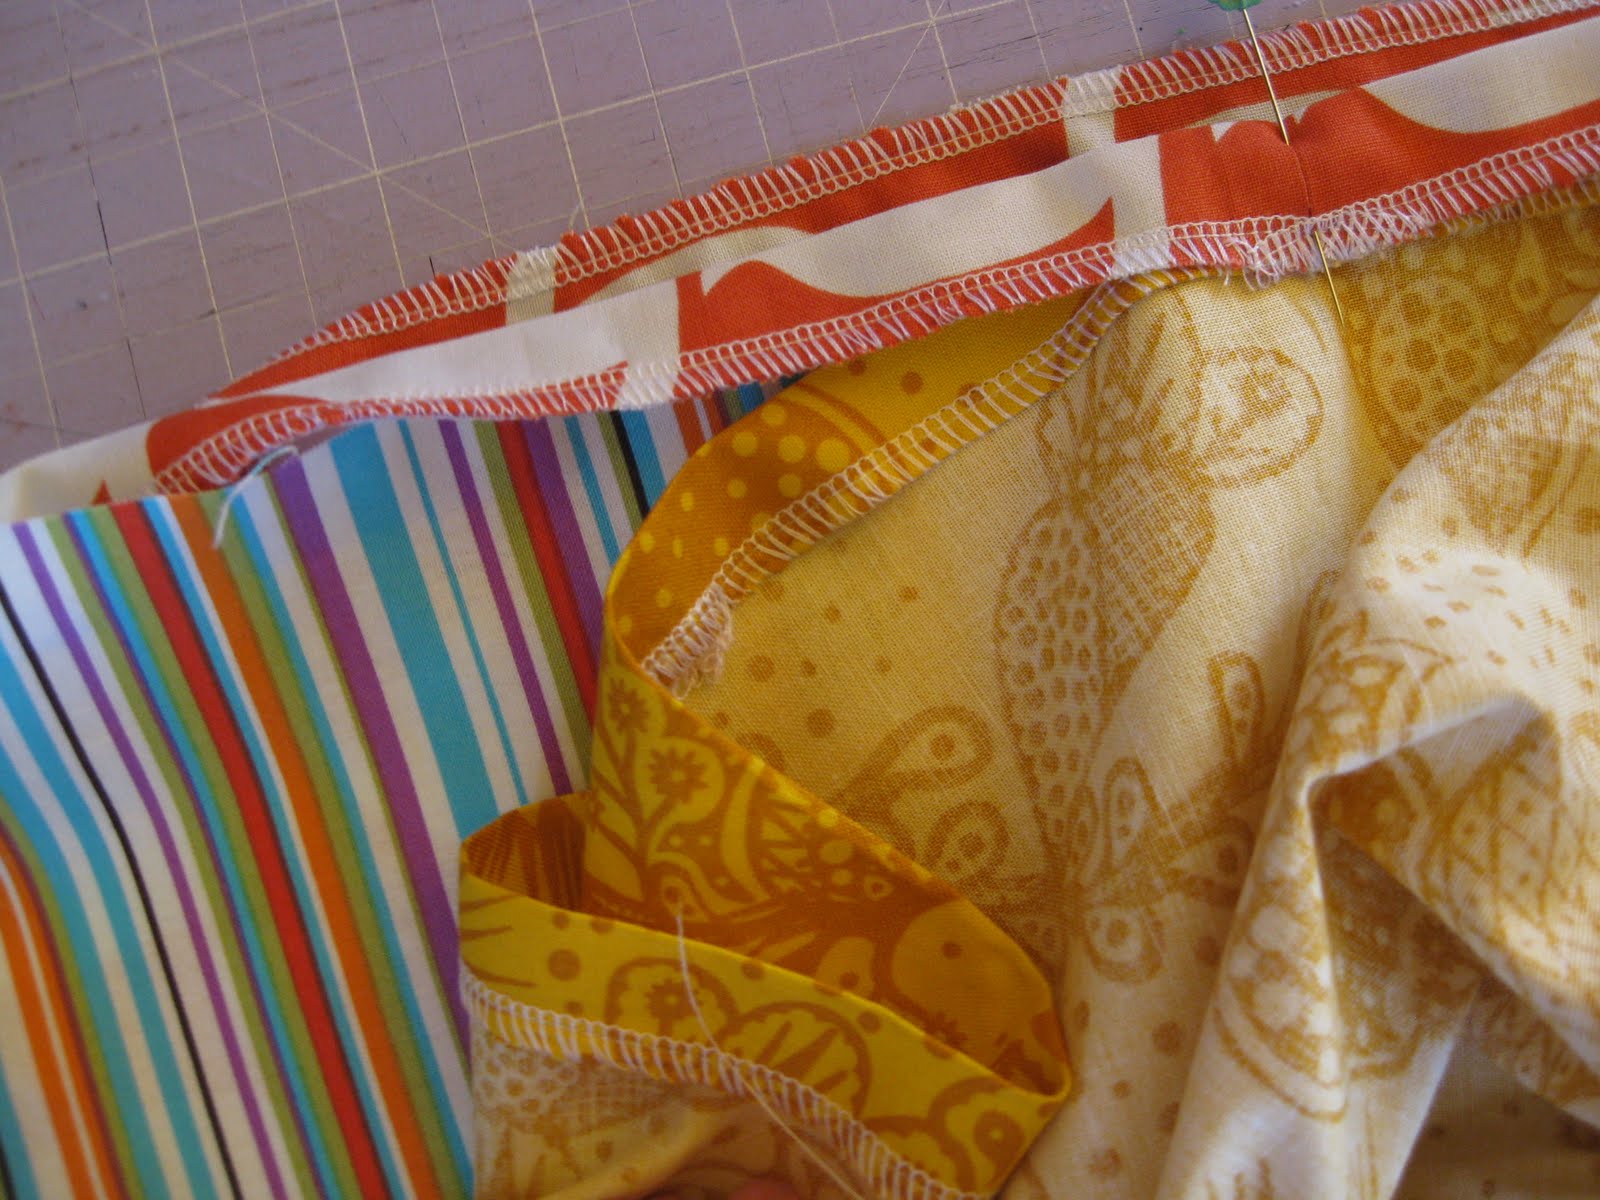
Once pinned your garment should look a little like this.

Step 9:
Sew casing, thread elastic and close your casing as per the instructions in your pattern. As your casing is comprised of two pieces of fabric, it is best not to be too scant with your stitching as this may make threading your elastic a little tight.

Congratulations! You are done! How awesome is this little skirt with bloomers!!


Enjoy!
Love it. I think my girl needs some of these, I will add it to the to do list!
ReplyDeleteSo awesome I'm going to make one for my sweet baby girl!
ReplyDeleteCute baby pictures.
ReplyDelete